How to Decorate a Christmas Tree Like a Designer: 12-Step Guide for 2027
Every December, the same thing happens: the tree goes up, the ornament boxes come out, and somehow the result looks… fine. Just fine. Not the layered, glowy, magazine-cover tree you pictured — the one where every branch seems to hold exactly the right thing. The difference between a fine tree and a stunning one is almost never money. It’s order. Professional decorators follow the same sequence every single time, and once you know the steps, your tree will look like you hired someone.
This is that sequence, broken into 12 steps that build on each other. Follow them in order — lights before ornaments, ribbon before baubles, topper last — and you’ll get a tree with depth, balance, and that expensive glow. Whether your tree is a fresh-cut fir or a trusty artificial one, the method is the same for 2026 and into 2027.
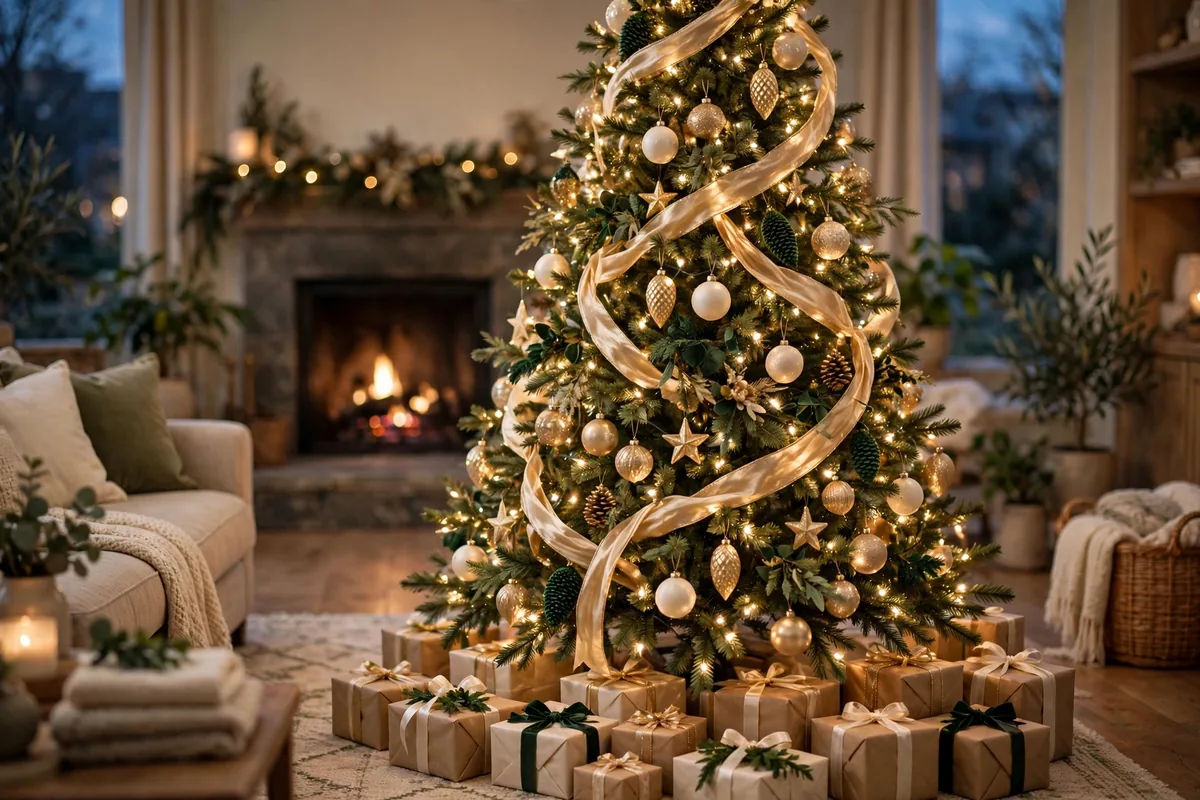
Step 1. Choose Your Palette Before You Touch a Box

Decide on two to three colors plus one metallic before you unpack anything. The 2026–2027 favorites are champagne gold with ivory and soft green, deep red with gold and natural wood, or icy silver with white and pale blue. Pull everything that matches your palette into one pile and box up the rest — editing first is what keeps a tree from looking like a craft-store explosion. Lay your ornaments out on the floor or a table so you can see the full collection at a glance. Count roughly: a 7-foot tree wants 70 to 90 ornaments, a 6-foot tree around 50 to 60. If you’re short, plan to fill the gaps with ribbon, picks, and greenery rather than buying random singles.
Step 2. Fluff Every Single Branch
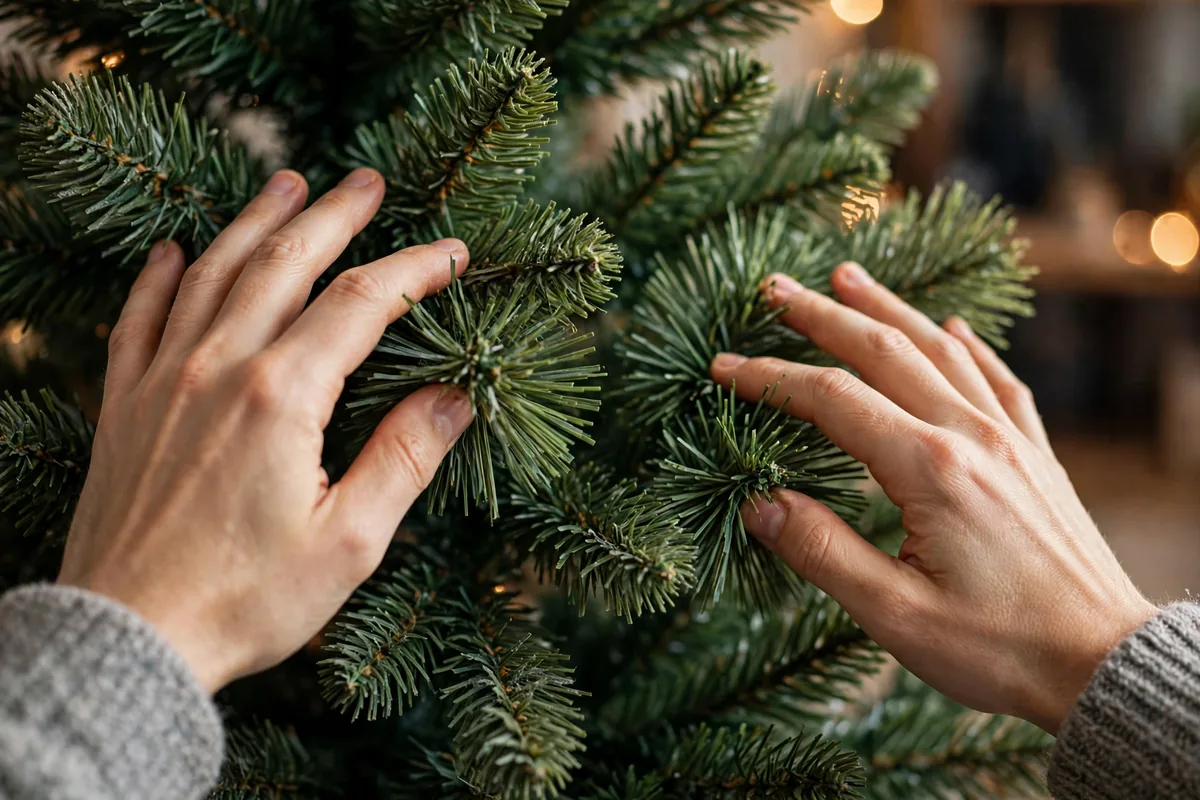
This is the step everyone skips and every designer insists on. Starting at the bottom, pull each branch tip outward and fan the smaller shoots in alternating directions — some up, some sideways, some slightly down — until there are no flat spots or visible gaps to the trunk. On an artificial tree, this takes 30 to 45 minutes and it is the single biggest upgrade you can make; a well-fluffed tree looks twice as full. On a real tree, shake off loose needles, trim any branch that pokes out at a wild angle, and rotate the tree so its fullest side faces the room. Stand back every few minutes and check the silhouette from across the room, not from two feet away.
Step 3. Add a Tree Collar or Skirt First
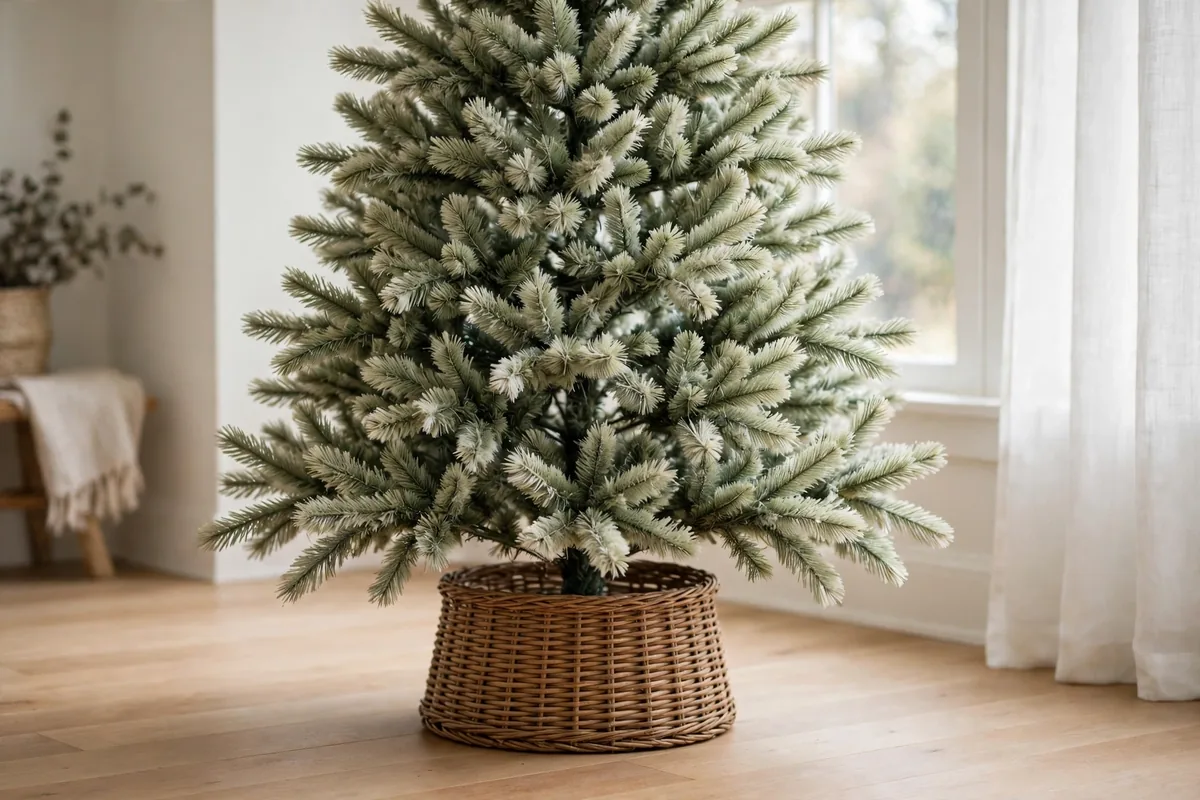
Put the base covering on before the lights go on, because you’ll be crouching under the lower branches later and a skirt gets in the way. A woven tree collar gives a clean modern look and hides the stand completely; a full fabric skirt reads traditional and soft. For 2026–2027, knit and faux-fur skirts are everywhere, and they do double duty as a soft landing for presents. Make sure the covering sits flat and centered — an off-center skirt is visible in every photo you take of the tree.
Step 4. String the Lights in Sections, Top to Bottom
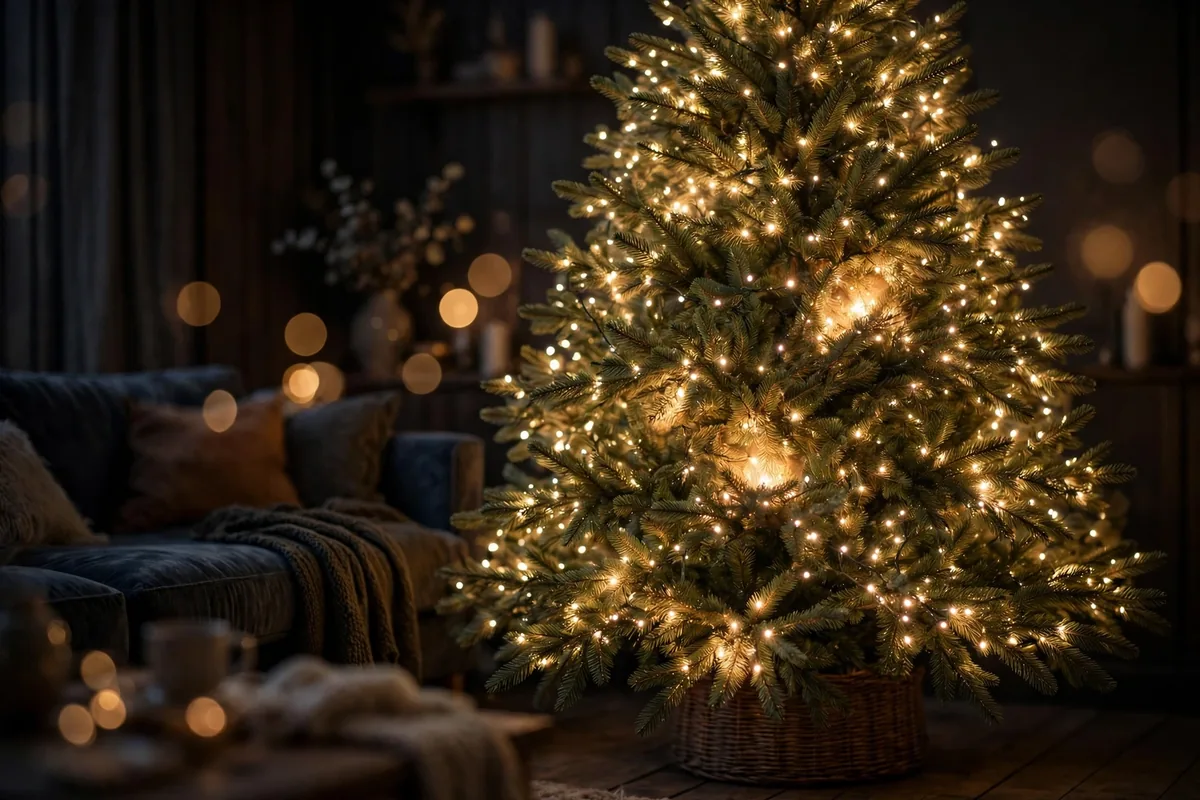
Use 100 mini lights per vertical foot of tree (a 7-foot tree needs about 700). Work in horizontal bands: start at the top, weave the string in and out of the branches — deep toward the trunk, then out toward the tips — rather than circling the outside like a barber pole. Weaving creates depth and makes the tree glow from within. Plug in each section before moving down so you catch dead bulbs early. Warm white is the timeless choice; multicolor reads playful and retro. Step back with the room lights dimmed after every two sections and fill any dark patches before they get buried under ornaments.
Step 5. Tuck in Garland or Beaded Strands
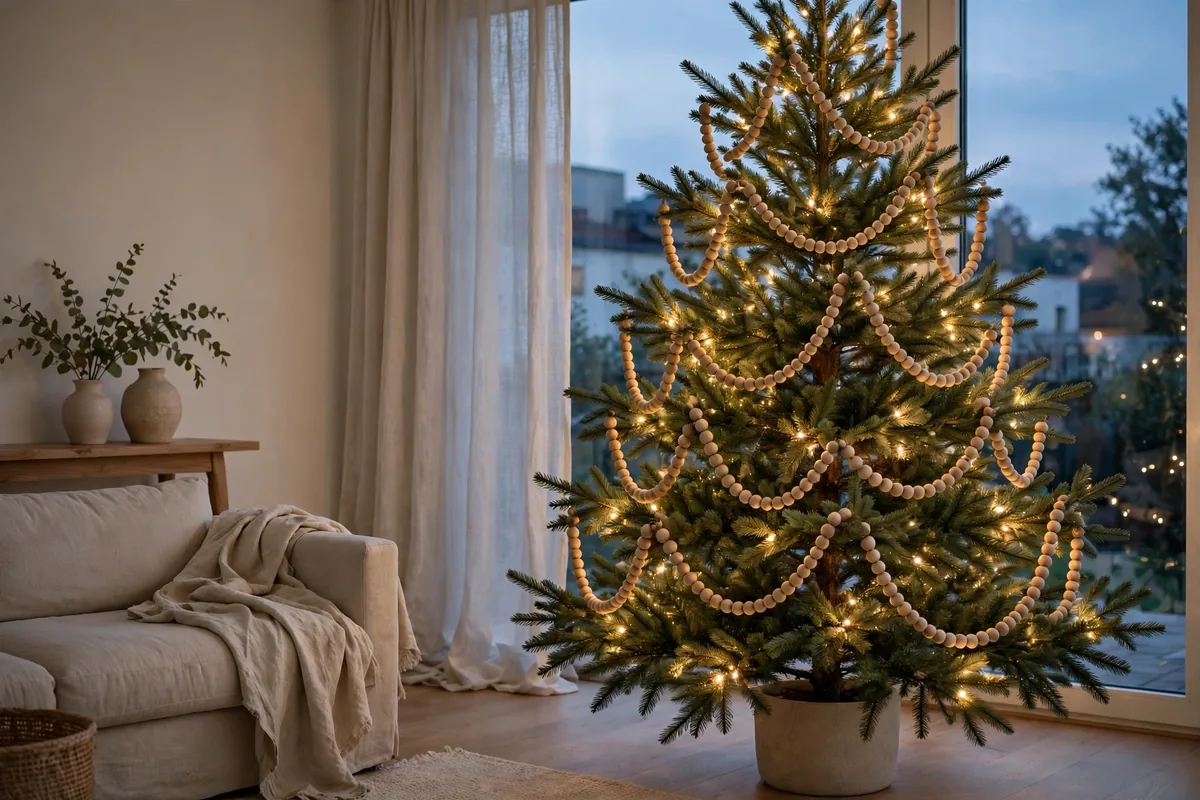
If you use garland — faux cranberry, wooden beads, popcorn-style strands — add it now, before ornaments. Drape it in loose swags, starting at the top and working down, tucking the swag ends into the branches rather than wrapping tight circles. Two to three swags per vertical foot is plenty; the goal is a gentle wave, not a spiral staircase. Beaded garland in wood or gold is the 2026–2027 pick because it reads elegant without competing with ornaments. Keep garland to one type per tree — mixing beaded strands with tinsel garland with ribbon is where trees start to look busy.
Step 6. Weave in Ribbon Like a Pro
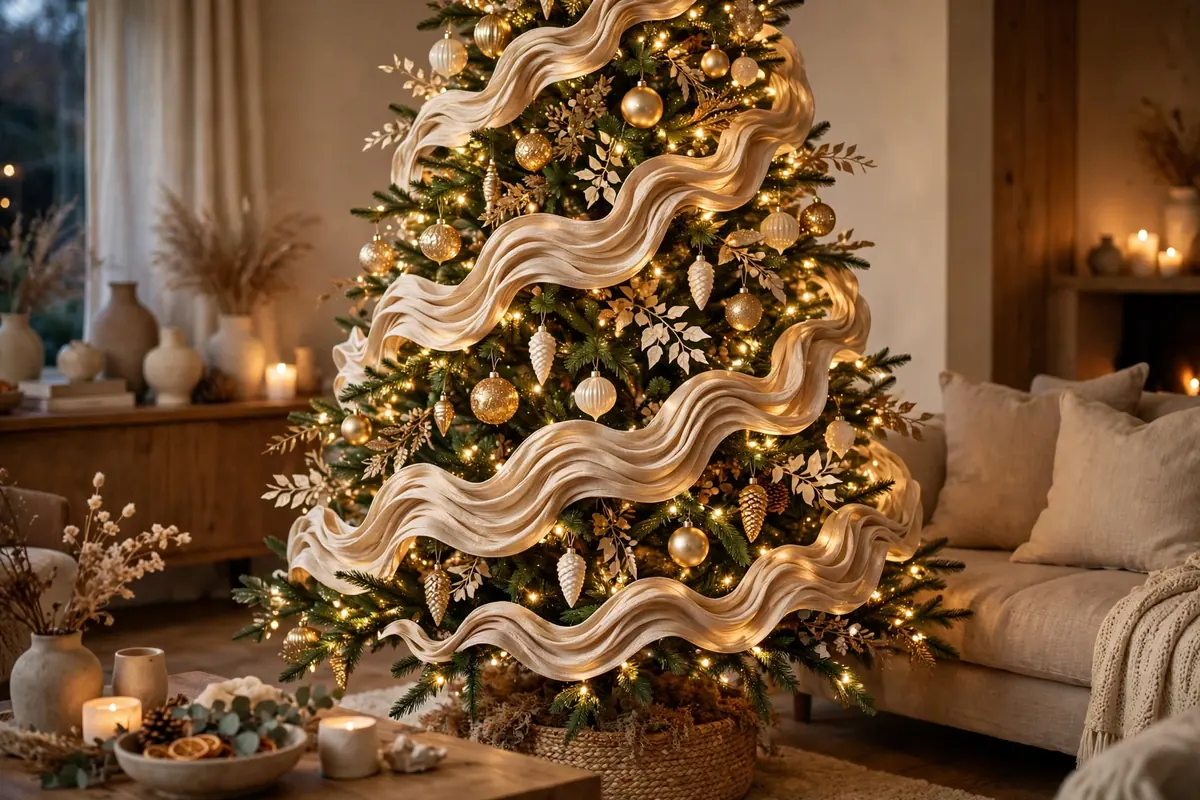
Cut ribbon into 2- to 3-foot lengths instead of wrestling one endless spool around the tree — short pieces are dramatically easier to control. Tuck one end deep into the branches near the top, let the ribbon cascade down and outward, and anchor the bottom end with a branch twist. Work around the tree in a loose spiral, alternating wired ribbon (which holds sculpted waves) with soft mesh or velvet. Champagne, deep green, and burgundy velvet are the standout choices this season. This ribbon-first method is the same layering trick behind our Christmas living room decor ideas — wide bands of one material before the small details go on.
Step 7. Place Your Largest Ornaments Deep Inside

Hang the biggest ornaments first, and push them deep into the tree near the trunk — not on the branch tips. This feels wrong the first time you do it, but it’s the professional secret to depth: large ornaments inside create dark, rich pockets that make the tree look full and expensive, and they hide the trunk and any bare spots. Use your statement pieces here — the oversized baubles, the heirloom ornaments, the ones with real presence. Space them evenly around the tree, checking from all sides, with a few inches of breathing room between each.
Step 8. Layer Medium Ornaments on the Mid-Branches

Now fill the middle layer with your medium ornaments, hanging them from the sturdy inner branches about halfway out. Group them in odd numbers — threes and fives read as intentional — and repeat each color in a loose triangle around the tree so no one side hogs the red or the gold. Mix finishes here: shiny, matte, and glittered ornaments together catch the light differently and keep the tree interesting up close. Hang ornaments with simple hooks or short ribbon loops, and turn each ornament’s prettiest face outward. If an ornament has a plain back, hide it against the branches.
Step 9. Add Picks, Sprays, and Natural Texture
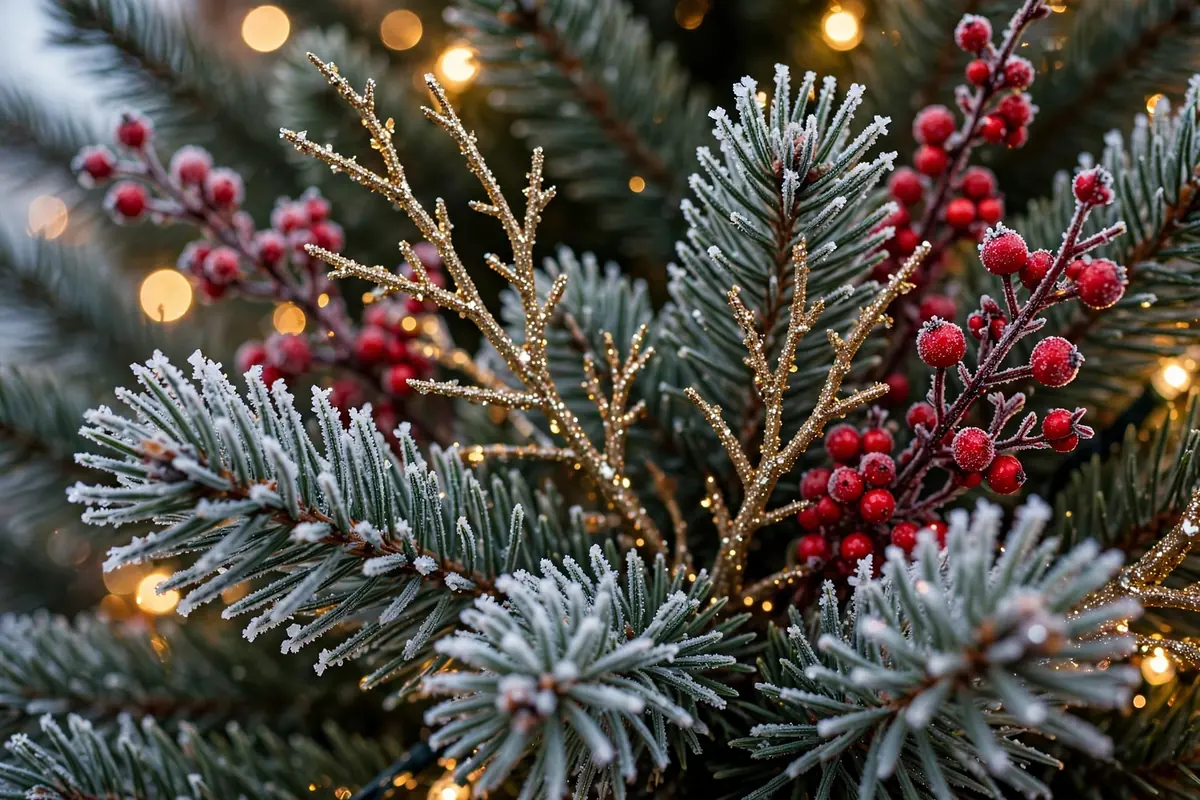
Floral picks are the designer’s cheat code: berry sprays, frosted pine sprigs, eucalyptus stems, glittered branches, or dried flower bundles pushed into the tree at angles add texture no ornament can. Insert them deep, pointing slightly upward and outward, in clusters of three. This is where the 2026–2027 natural trend shines — dried oranges, cinnamon bundles, and pinecones wired onto picks bring the same handmade warmth as our DIY Christmas candle decor brings to a mantel. Aim for 12 to 20 picks on a 7-foot tree, distributed evenly but asymmetrically — nature doesn’t do perfect symmetry.
Step 10. Finish with Small and Delicate Ornaments on the Tips
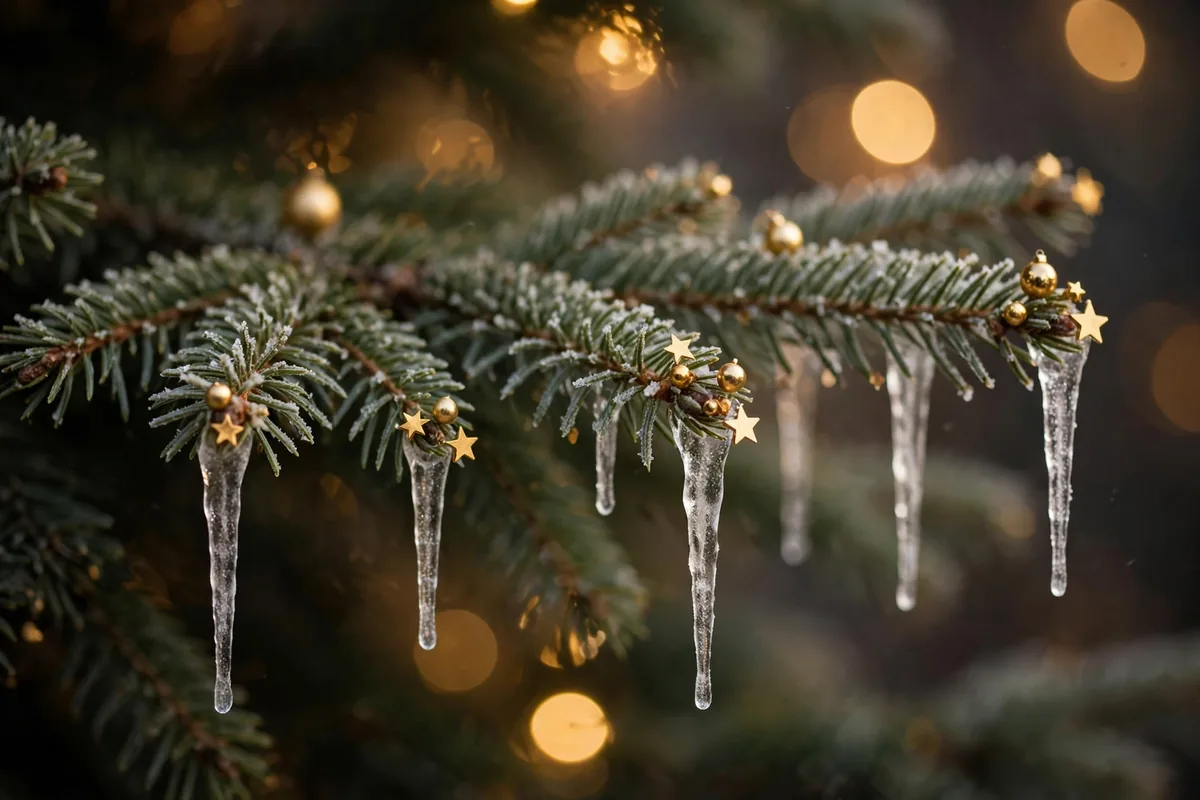
The smallest, lightest, most delicate ornaments go last, on the outer branch tips where they’ll catch the light and the eye. Glass icicles, tiny stars, mini baubles, and anything fragile live here — visible, sparkling, and safely away from heavy traffic. This outer layer is what people actually see first, so take your time: step back often, rotate the tree a quarter turn, and check for bare patches or color clumps. Leave a few branch tips bare on purpose; negative space is what makes the decorated branches pop.
Step 11. Crown It with the Right Topper

The topper should match your tree’s personality, not fight it. A classic star or angel suits traditional trees; a big layered bow or a cluster of birch branches suits modern and rustic ones. Whatever you choose, secure it properly — the topper is the first thing to topple when the cat investigates at 2 a.m. For star toppers, bend the top branches into a tight cone first so the star sits straight. For bows, use wired ribbon and fluff the loops wide; a skimpy bow at the top of a full tree looks like an afterthought. The topper is the exclamation point — make it confident.
Step 12. Do the Final Walk-Around and Photograph It
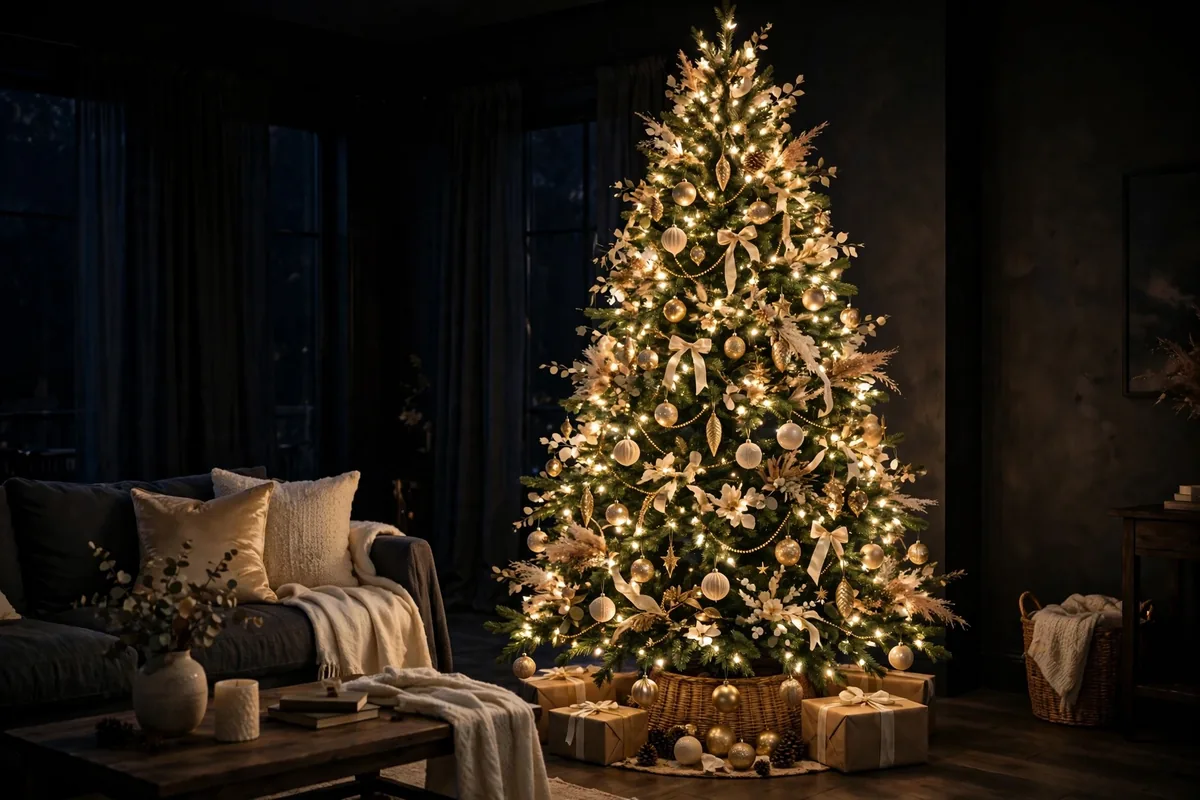
Turn off the overhead lights, turn on only the tree, and walk slowly around it twice. You’re looking for four things: dark patches (add a light string section), bare spots (move an ornament, don’t buy one), color clumps (redistribute), and anything hanging crooked. Then take a photo — the camera catches imbalances your eyes miss after staring at the tree for two hours. Fix what the photo shows, fluff any ribbon that flattened, and straighten the skirt. If your mantel is still bare after all this, our Christmas fireplace mantel ideas use the same inside-out layering so the whole room matches the tree.
That’s the whole method: palette, fluff, skirt, lights, garland, ribbon, large ornaments inside, medium in the middle, picks for texture, delicates on the tips, topper, and the final walk-around. Twelve steps, one afternoon, and a tree that looks like it was done by someone with strong opinions about ribbon. The order is the magic — every layer covers the sins of the one before it.
Two quick troubleshooting notes before you start. If your tree looks great in person but flat in photos, the culprit is almost always lighting angle — turn off every other light in the room and let the tree be the only source; phone cameras handle a single warm source far better than mixed lighting. And if you run out of ornaments halfway, resist the urge to spread them thin across the whole tree. Instead, decorate the front two-thirds densely and leave the back simple — nobody sees the back against the wall, and a dense front reads as abundance. Store leftover hooks and ribbon in a labeled bag with the ornament boxes so next December starts organized.
Pour something warm, put on the music, and enjoy the best-smelling room in the house.