17+ Clever DIY Jewelry Storage Ideas to Keep Your Collection Tangle-Free
Every jewelry owner knows the ritual: you open the box for one necklace and pull out a tangled knot of four, three earrings without partners, and a ring hiding at the bottom. The problem is rarely the jewelry — it is the storage. Pieces thrown together tangle, scratch, tarnish, and quietly disappear. The good news: the best jewelry storage is not bought, it is made, usually from things already in your house.
Here are 17+ clever DIY jewelry storage ideas to keep your collection tangle-free, organized by the problem they solve — necklaces that knot, earrings that vanish, rings that roll away, and bracelets that pile up. Most cost almost nothing, every one keeps pieces separated (the whole secret of tangle-free), and several double as genuine room decor.
The One Rule Behind Every Idea
Tangles happen when chains move against each other; scratches happen when hard stones touch soft metal. Every idea below follows the same principle — each piece gets its own space, hook, or compartment, and necklaces hang vertically whenever possible. It is the same separation logic that keeps a closet working (our closet declutter guide makes the matching point about clothes). Hold that principle and even the humblest DIY below will outperform an expensive jumbled box.
1. The Framed Earring Display
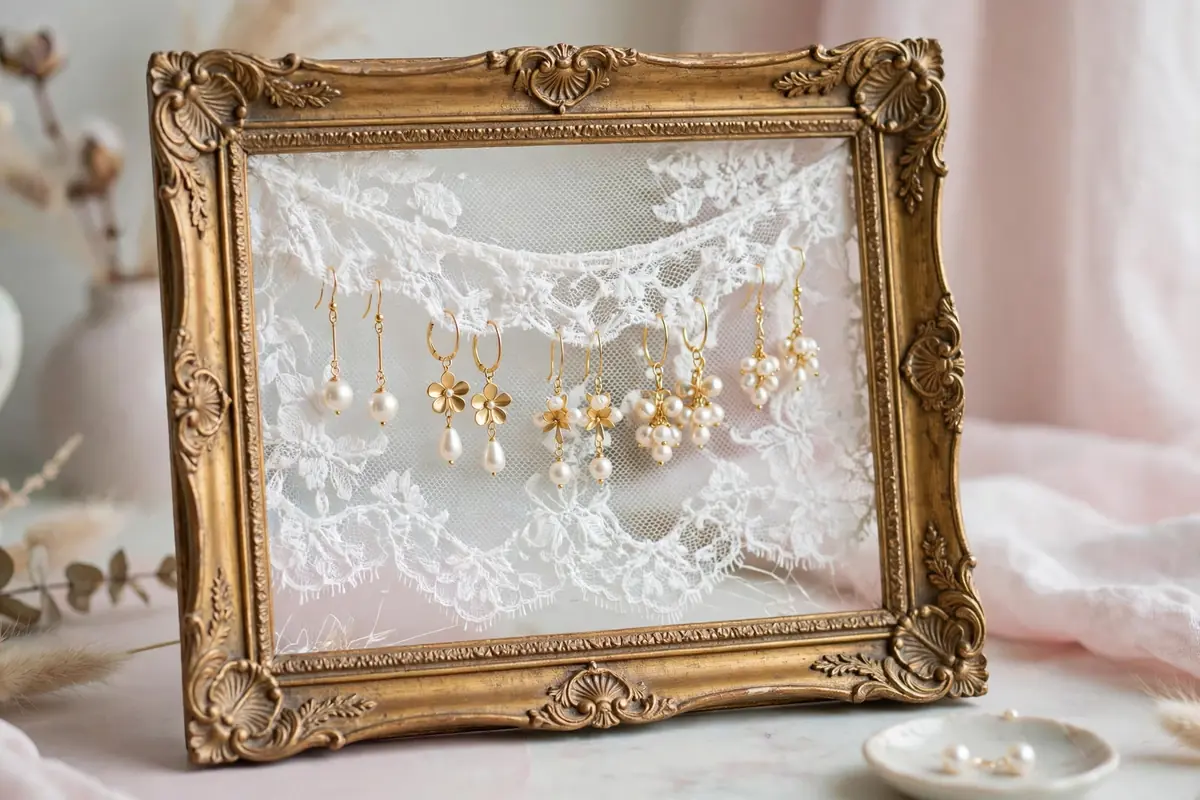
Stretch lace, mesh, or window screen across the back of an empty picture frame and hang dangle earrings through the holes — suddenly your earrings are a gallery. The frame leans on a dresser or hangs on the wall, every pair visible at once, which is the real cure for the lost-earring problem: you cannot lose what you can see. Paint the frame to match your room, and back it with contrasting fabric so the earrings pop. Works for studs too if you use dense lace; hooks and fish-hook earrings work with any mesh.
2. The Branch Jewelry Tree
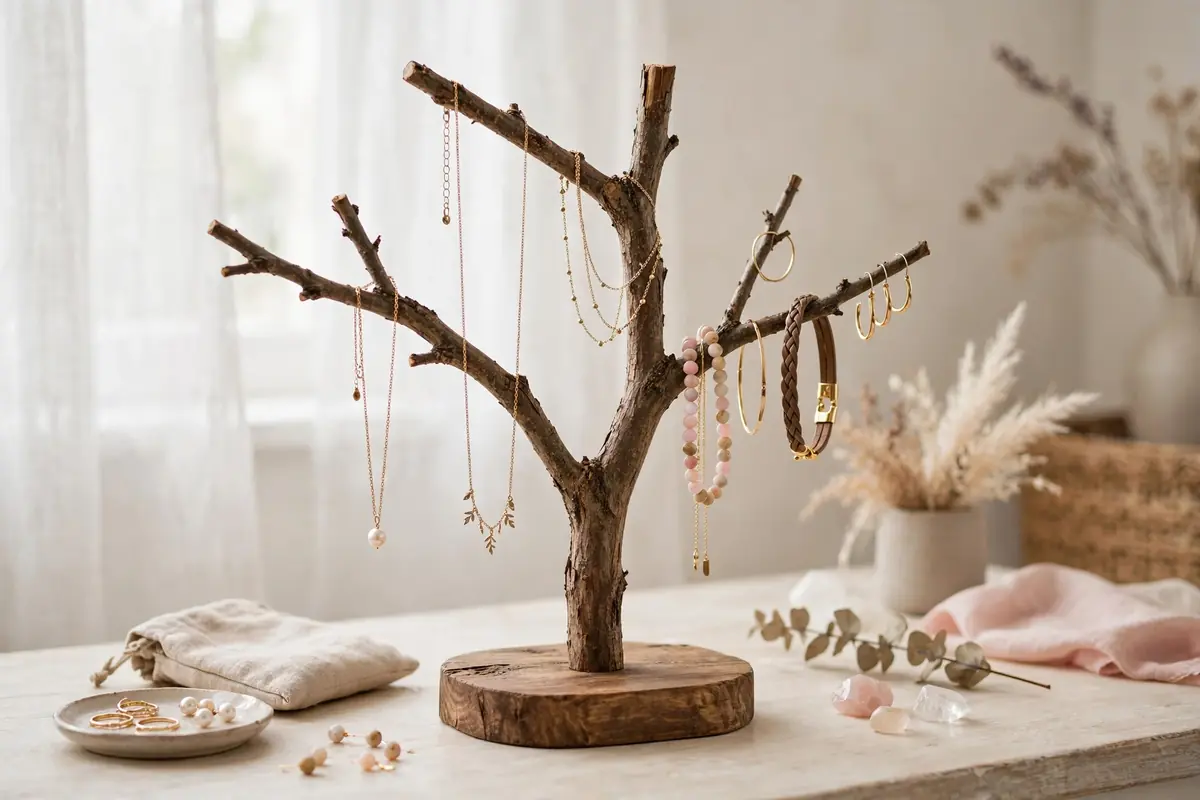
Find a sculptural fallen branch with plenty of twiggy forks, mount it in a weighted base (a pot of plaster, a block of wood, a heavy vase), and hang necklaces, bracelets, and earrings from its branches. It costs nothing, looks like a boutique display, and keeps every chain hanging separately — the most tangle-proof arrangement there is. Sand the branch smooth so silk cords do not snag, and keep the loaded tree away from direct sun, which fades both the wood and delicate stones over time.
3. Ice Cube Tray Drawer Inserts
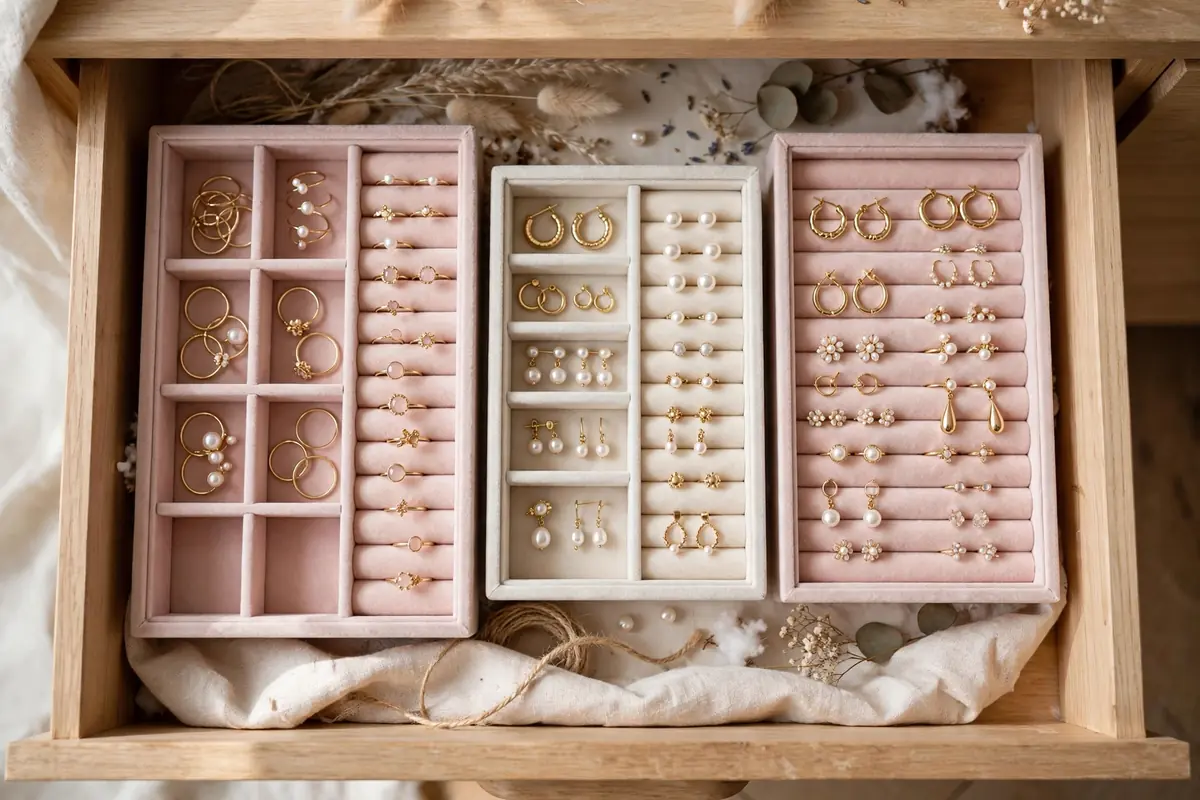
The humblest genius on this list: ice cube trays, muffin tins, and small compartment boxes dropped into a shallow drawer give every ring, pair of studs, and pendant its own cell. Stack two trays if the drawer is deep. This is the fastest full-collection rescue there is — one trip to the kitchen, ten minutes of sorting, done. It is invisible storage, so it suits minimalists; line the drawer with felt first so trays do not slide, and the whole system feels purpose-built instead of repurposed.
4. The Hook Board Necklace Organizer
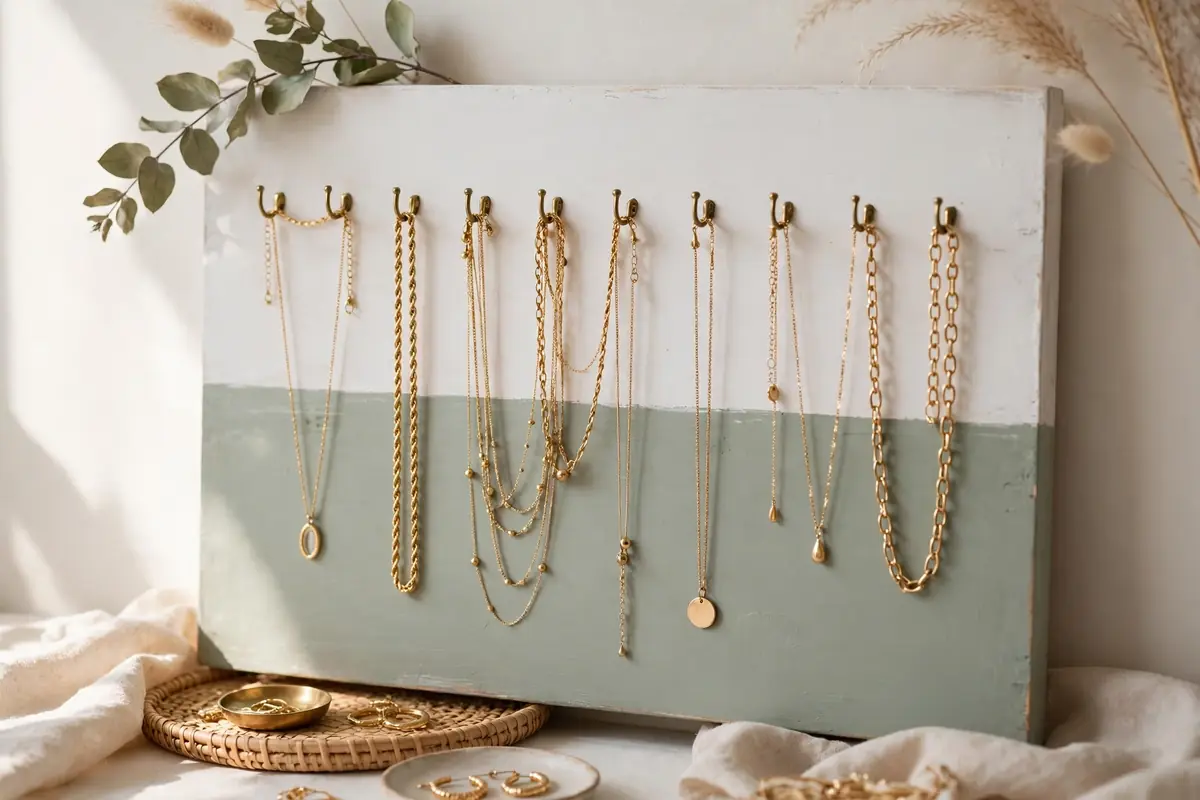
Screw a row of small brass hooks, cup hooks, or decorative knobs into a painted board and hang every necklace from its own hook. Mount the board inside a wardrobe door, on a closet wall, or behind the bedroom door — dead space doing real work. Necklaces stored this way never tangle, full stop; vertical hanging is the gold standard for chains. Label-free and instant to use, a hook board scales from six necklaces to sixty. If you make jewelry yourself (see our beaded bracelet ideas), reserve one row for finished pieces awaiting their owners.
5. Vintage Teacups in a Drawer
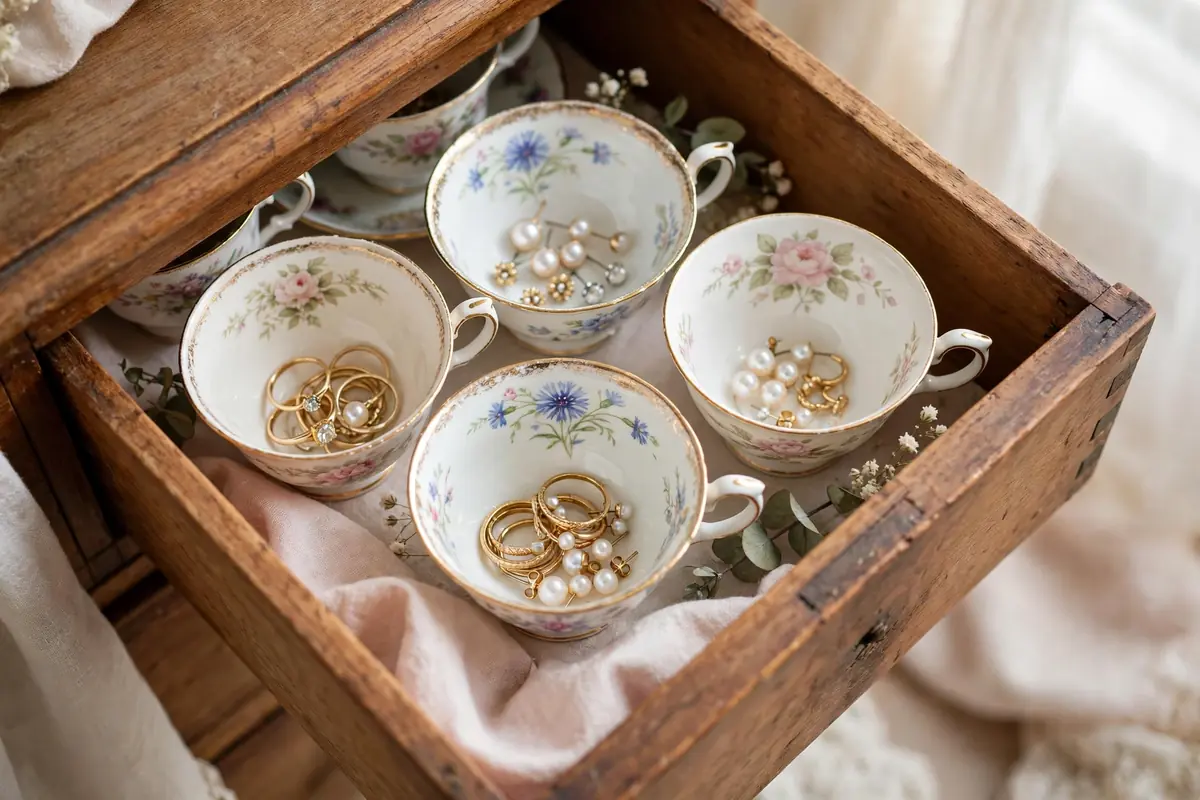
Line a shallow drawer or a tray with mismatched vintage teacups and saucers, and drop rings into one, studs into another, brooches into a third. The cups keep everything separated, look beautiful every time the drawer opens, and give inherited china a daily job instead of a dusty cupboard. This is the shabbiest-chic idea here — it belongs to the same world as our shabby chic decor ideas — and it suits small, precious collections best. Add a felt pad under each cup so nothing rattles.
6. The Fabric-Covered Corkboard
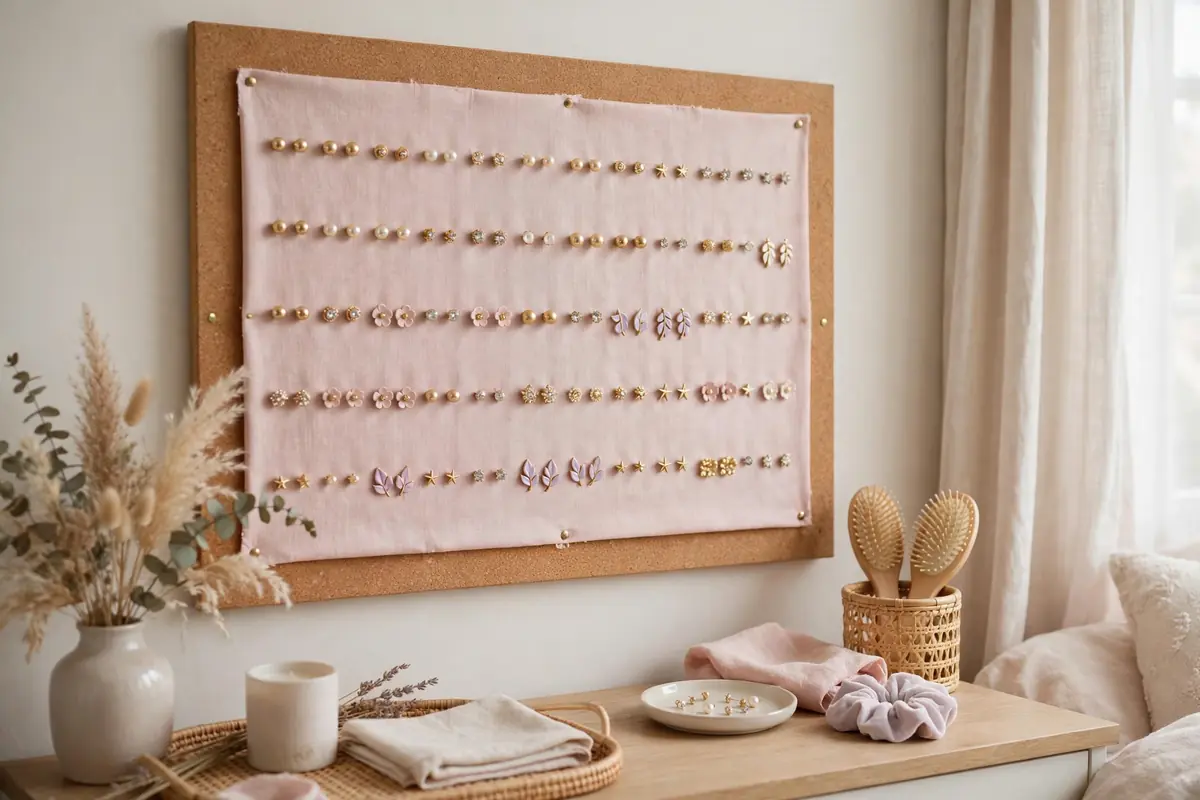
Cover a corkboard with linen or printed fabric (staple it around the back), frame it, and push stud earrings and brooches straight into the cork through the fabric. Pushpins double as hooks for pendant necklaces along the bottom edge. The board hangs like art, holds dozens of small pieces in plain sight, and reorganizes in seconds when the collection changes. This is the best solution for large stud collections, which defeat most jewelry boxes. Choose a fabric that contrasts with your metals — gold vanishes on cream, silver vanishes on grey.
7. The Repurposed Rake Necklace Hanger
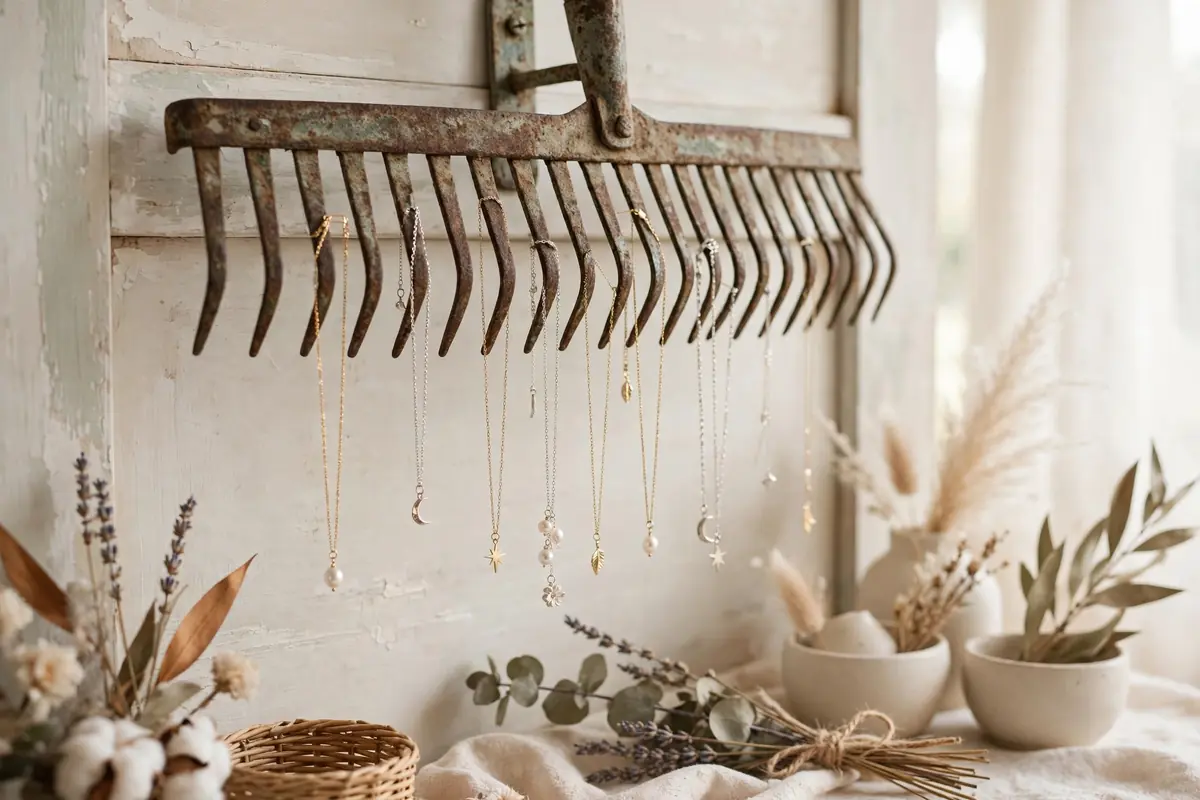
The classic upcycle: take the head of an old garden rake (the fan-shaped leaf rake works beautifully), clean and paint it, mount it with the tines pointing up or out, and hang a necklace from each tine. It sounds like a novelty and works like a professional fixture — the tine spacing is exactly necklace spacing. Rustic rooms, farmhouse styles, and garden lovers will find it charming rather than odd. Seal old metal with clear lacquer so nothing transfers to your chains, and check every tine tip is smooth before hanging delicate pieces.
8. Clear Acrylic Trays and Boxes
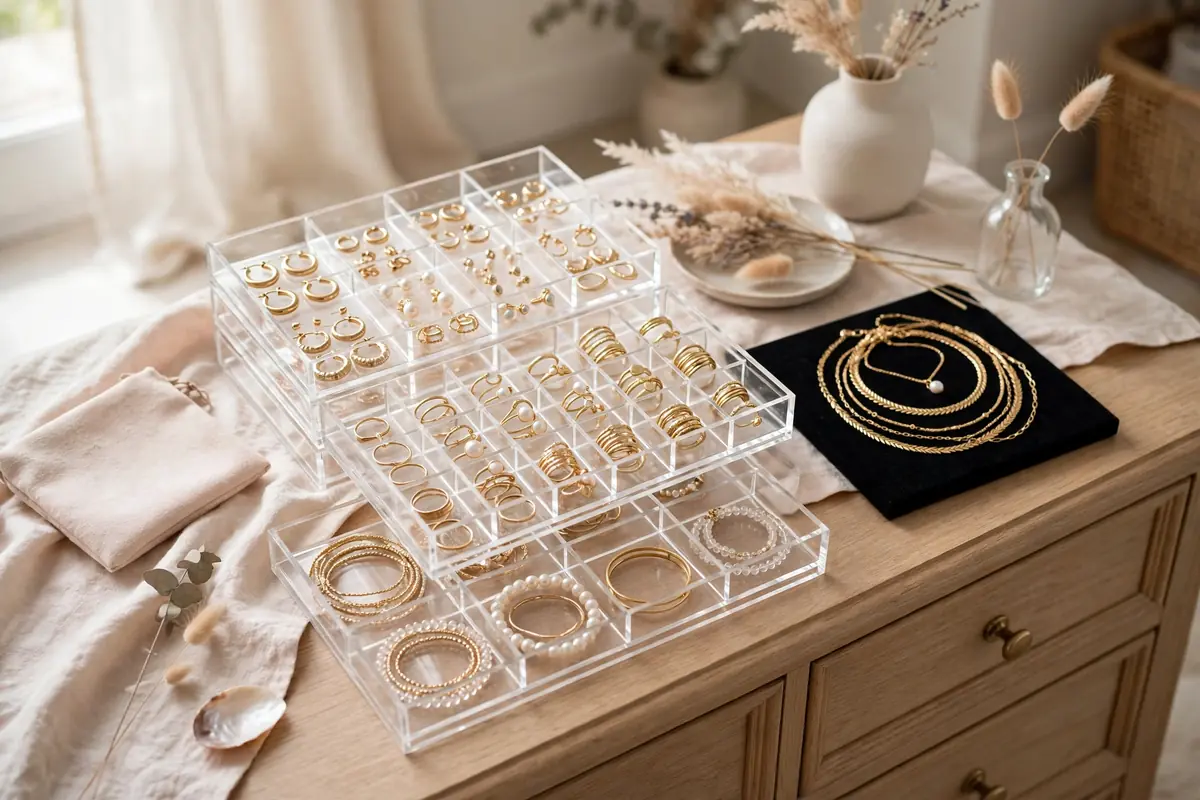
The modern counterweight to all the vintage ideas: stackable clear acrylic trays and boxes that let you see everything while keeping dust off. Buy or DIY them with dividers sized per jewelry type — long cells for necklaces laid flat in S-curves, small squares for rings and studs, one deep tray for watches and bangles. Acrylic suits contemporary rooms, and the visibility solves the same problem as the earring frame: collections get worn when they get seen. Keep acrylic out of direct sunlight, which can yellow it over years.
9. Ring Cones and Ring Dishes
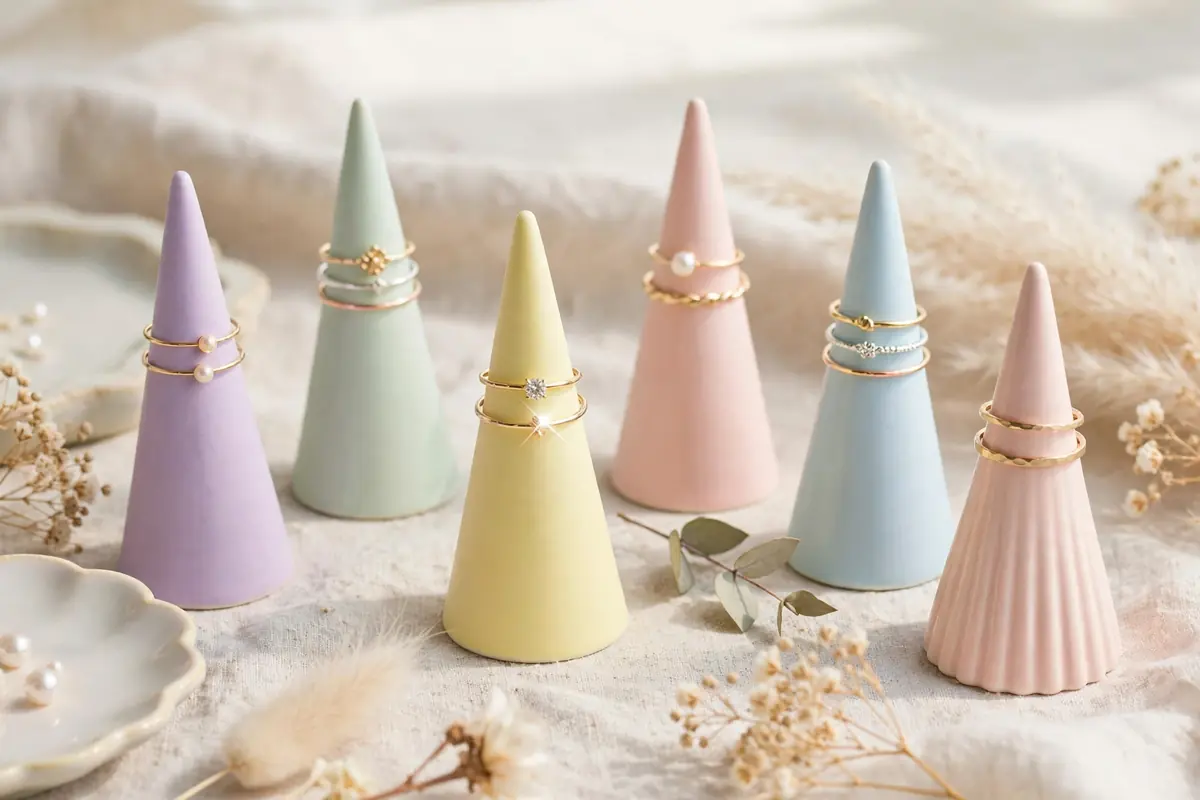
Rings tangle least and scratch most — they need perches, not piles. Air-dry clay cones (rolled, shaped, baked or dried, then painted) hold a stack of rings on a dresser in plain sight, and a small ceramic dish by the sink catches the rings you remove for washing. Make several cones in graduated heights and the dresser looks styled rather than stored. This is a lovely beginner clay project and a thoughtful handmade gift. Keep one cone reserved for the everyday rings; rotation between cones prevents the same bands rubbing daily.
10. Velvet-Lined DIY Drawer Dividers
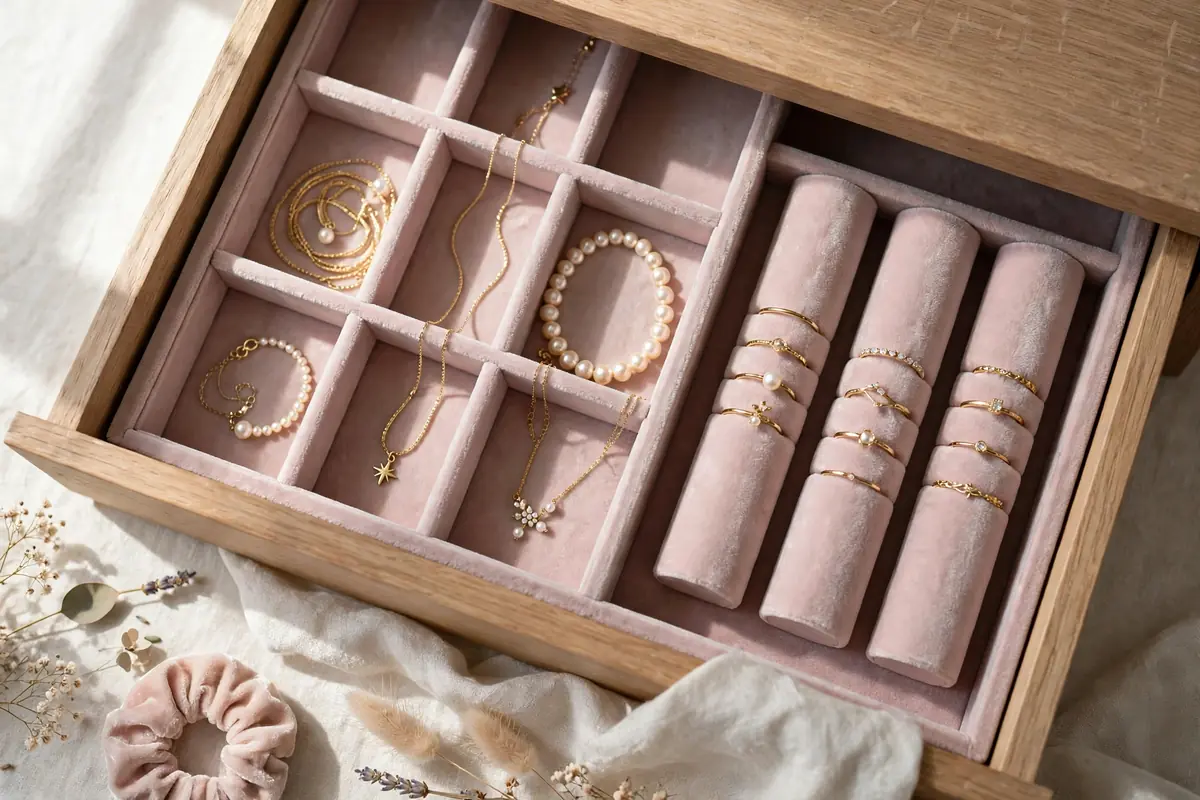
The jewelry-store look, made from cardboard and velvet: measure your drawer, cut cardboard into interlocking divider strips, cover them in velvet or felt with spray adhesive, and slot them together into a custom grid. Necklace channels run the drawer’s length (lay chains in gentle S-curves, one per channel); ring rolls — fabric-covered foam tubes — hold rings upright in rows. Nothing here costs more than the fabric, yet the result is the most luxurious storage on this list and completely fitted to your actual collection, not a manufacturer’s guess.
11. The Tension Rod Necklace Bar
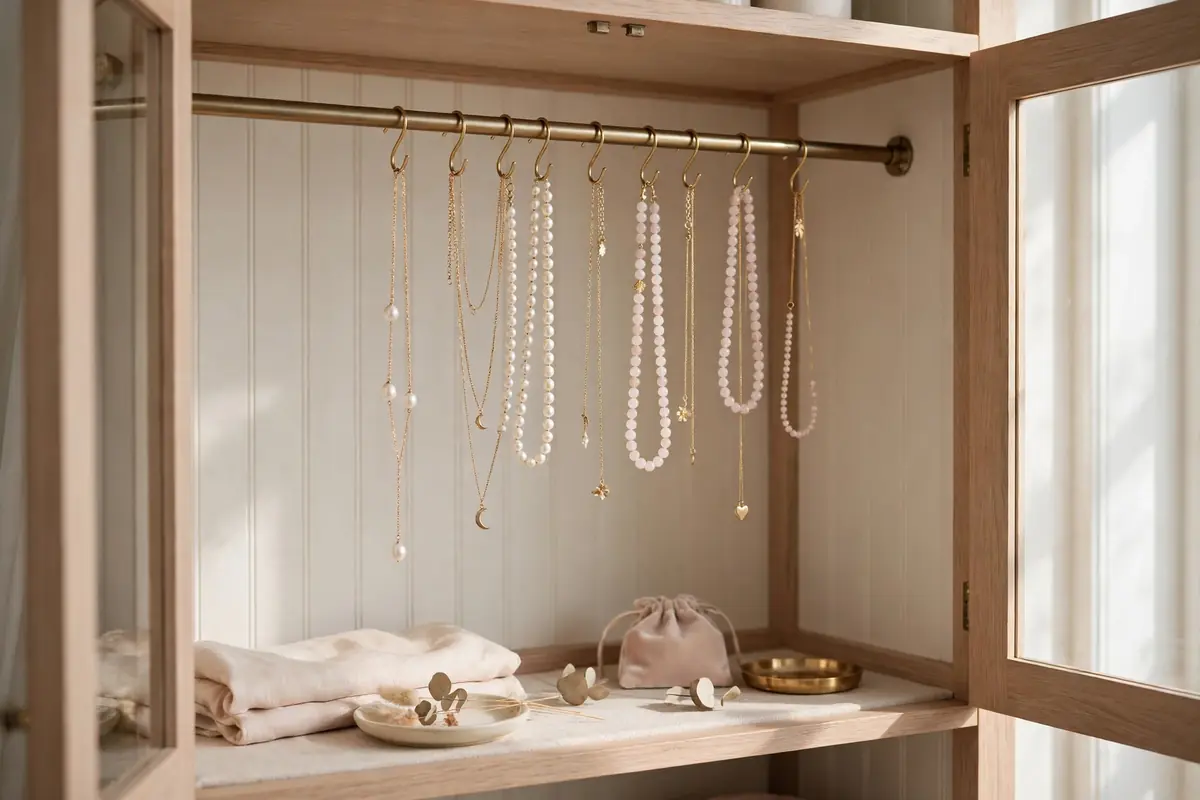
Fit a small spring tension rod across the inside of a cabinet, armoire, or closet niche and hang necklaces directly over the bar — or clip them on with shower curtain rings or S-hooks for tidier spacing. The rod costs a few dollars, installs in thirty seconds with no screws, and turns hidden vertical space into a necklace wardrobe. This is the highest-capacity tangle-free solution here: a two-foot rod holds thirty chains comfortably. It is also the easiest to expand — a second rod below holds the long pendants.
12. The Bracelet Bar
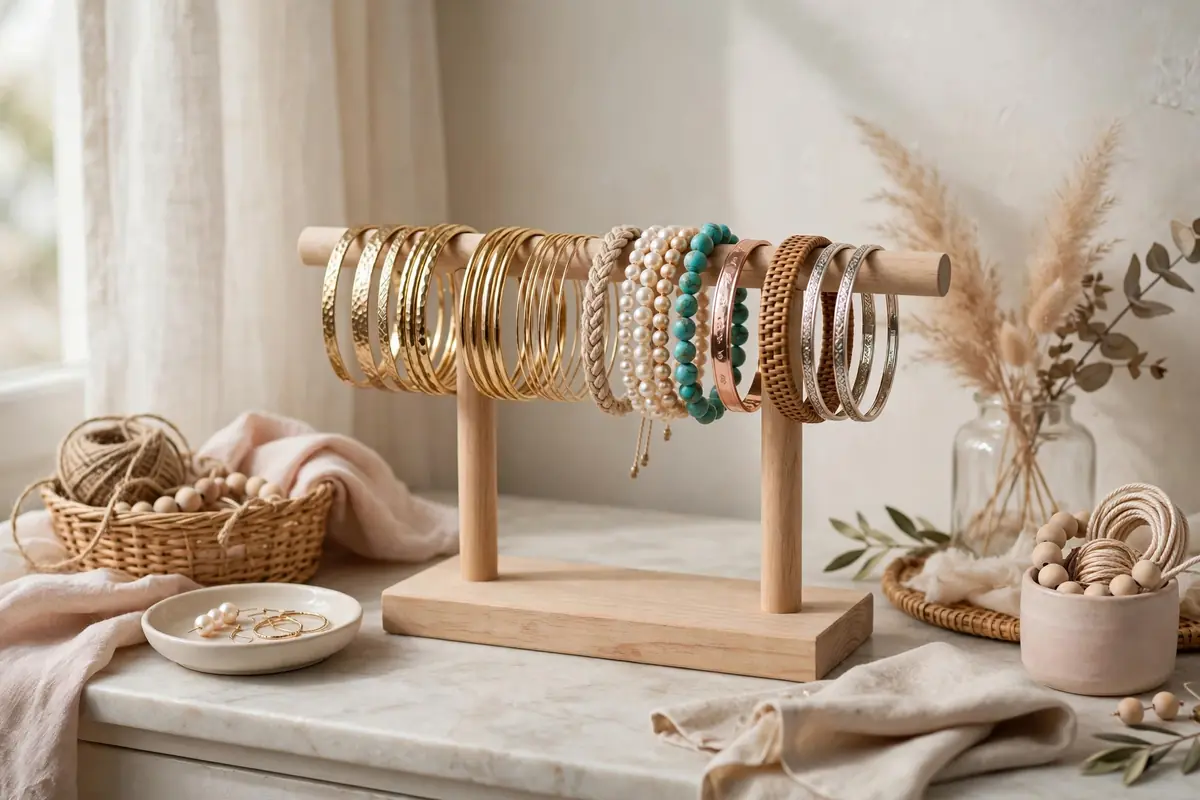
Bracelets and bangles store best slid onto a horizontal bar: a paper-towel holder stood upright, a length of dowel between two blocks, or a pool noodle covered in fabric and mounted in a drawer. Pieces slide on and off without unclasping, cuffs stay visible, and nothing piles. If you have beaded and stretch bracelets, the bar keeps them from tangling with chain necklaces stored elsewhere — separating jewelry types is half the tangle battle. Velvet-cover the bar and even metal bangles stop their slow mutual scratching.
13. The Tiered Cake Stand Display
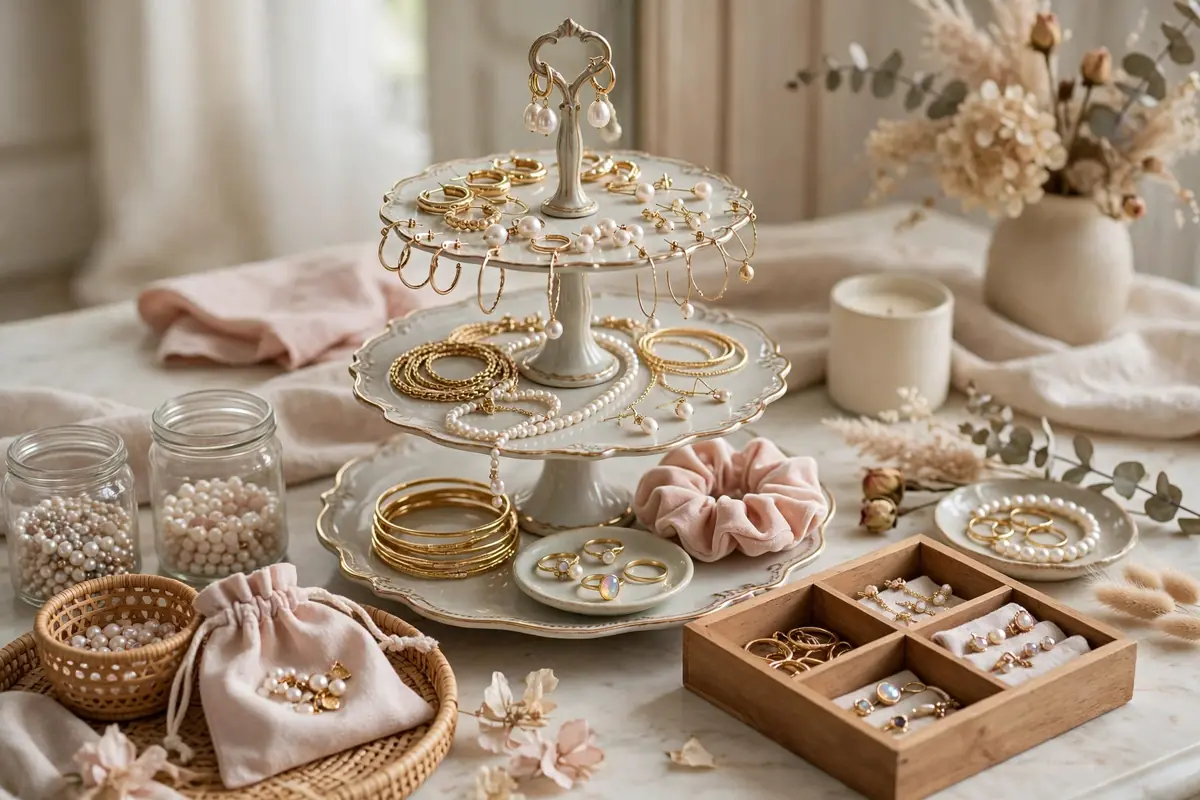
A two- or three-tier cake stand (thrifted, mismatched plates on a candlestick stem is the classic DIY) turns a dresser corner into a jewelry boutique: rings and stud dishes on top, bracelets draped in the middle, statement pieces below. The tiers keep categories apart while occupying a single footprint. It suits maximalists and anyone whose collection is part of their room’s decor. Add small dishes or a folded velvet square on each tier so pieces rest on softness, not china. Rotate what is displayed seasonally and the stand becomes a tiny exhibition.
14. The DIY Jewelry Travel Roll
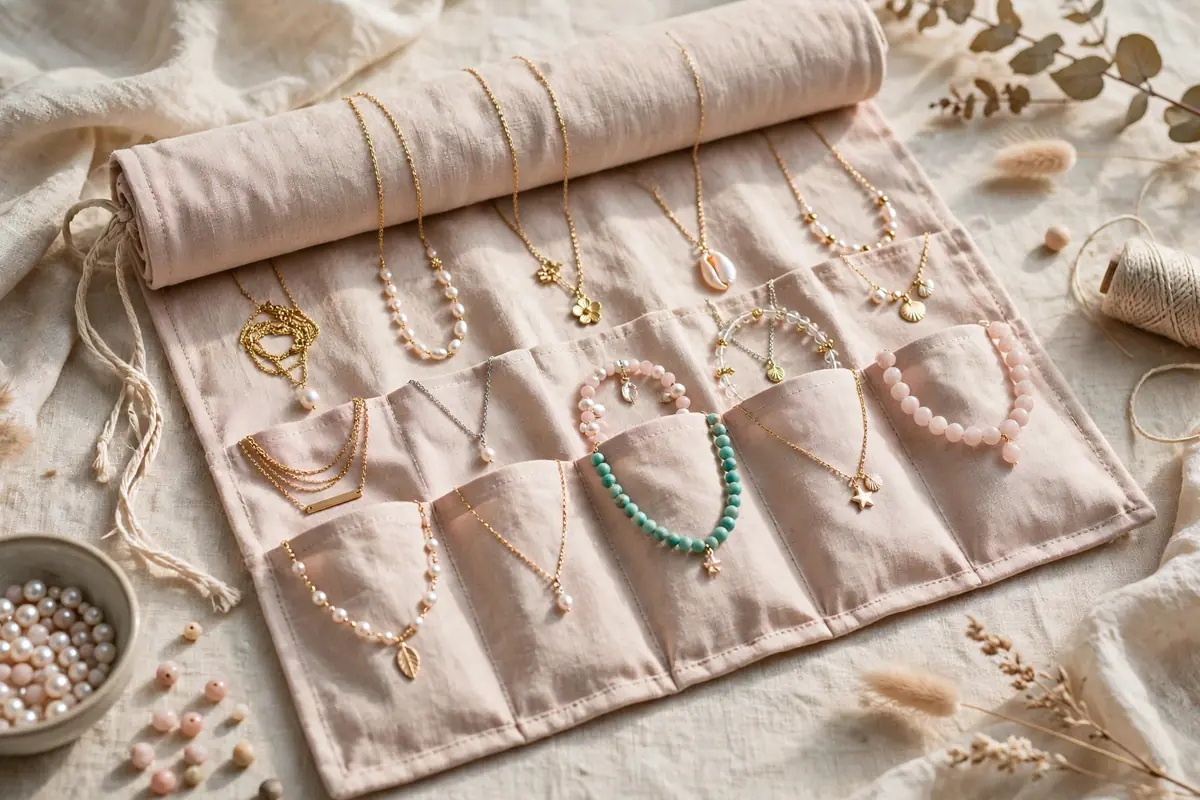
Travel is where tangles go to multiply, and the fix is a cloth roll: sew or glue clear pockets and snap straps onto a rectangle of sturdy fabric, place each necklace in its own pocket with the clasp fastened, roll it up, and tie. Even a no-sew version (a washcloth and ribbon ties) works. Pieces arrive exactly as packed — no hotel-room detangling session. Make the roll beautiful and it doubles as home storage hung on a hook. This is also the safest way to carry jewelry in hand luggage rather than checked bags.
15. The Shadow Box Display Case
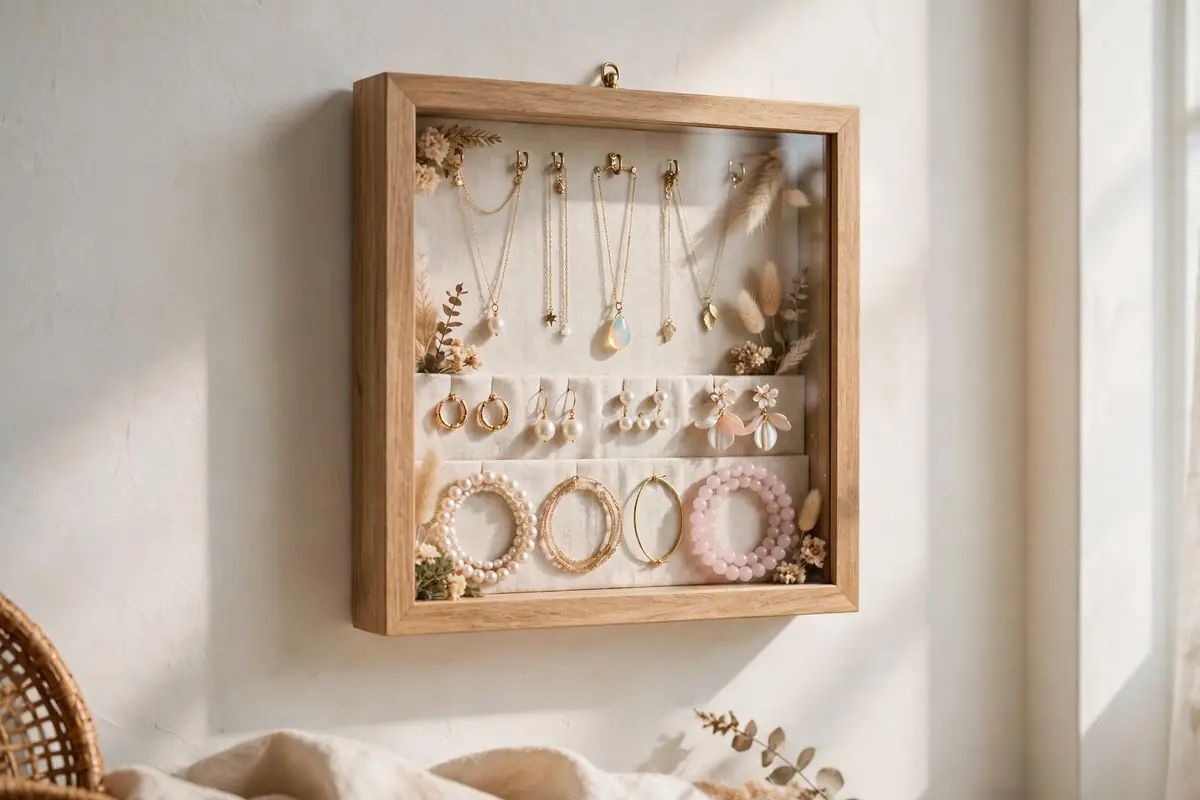
Mount hooks, tiny shelves, or a velvet backing inside a deep shadow-box frame, arrange your best pieces like exhibits, and hang the whole thing as art behind glass. The glass keeps dust and curious small hands off, the frame turns storage into the room’s most personal picture, and everything hangs separated — tangle-free by architecture. Shadow boxes suit heirloom and statement collections: the pieces you would display even if you never wore them. Change the arrangement twice a year and the “exhibition” refreshes the room with it.
16. The Knob and Drawer-Pull Board
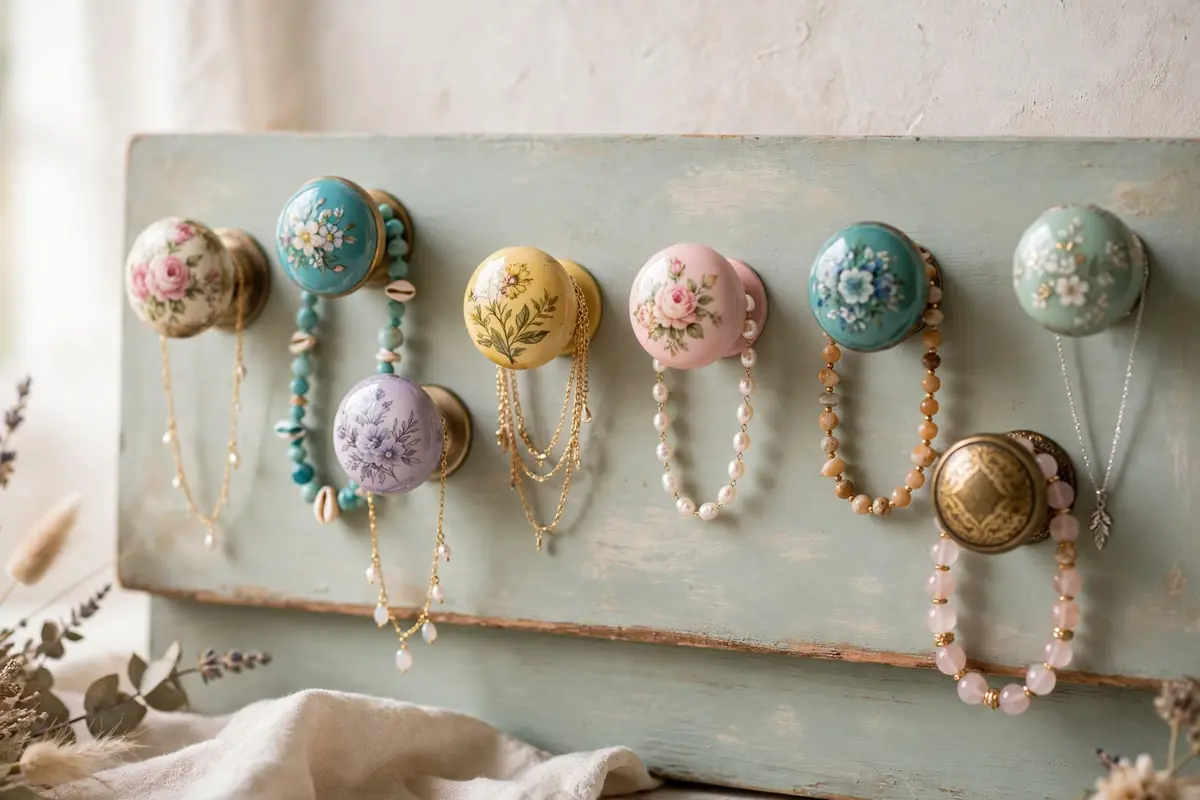
Collect pretty drawer knobs and pulls — no two alike is a virtue here — and screw them in rows into a wooden board or an old drawer front. Each knob becomes a necklace or bracelet hook with its own personality. The board mounts anywhere and is endlessly expandable; flea markets become supply runs for your storage. Knob boards hold chunkier pieces better than fine hooks do, so assign them the statement necklaces and bangles. Paint the board a deep color and brass knobs glow like hardware-store jewelry themselves.
17. Egg Cartons and Pill Organizers for Small Pieces
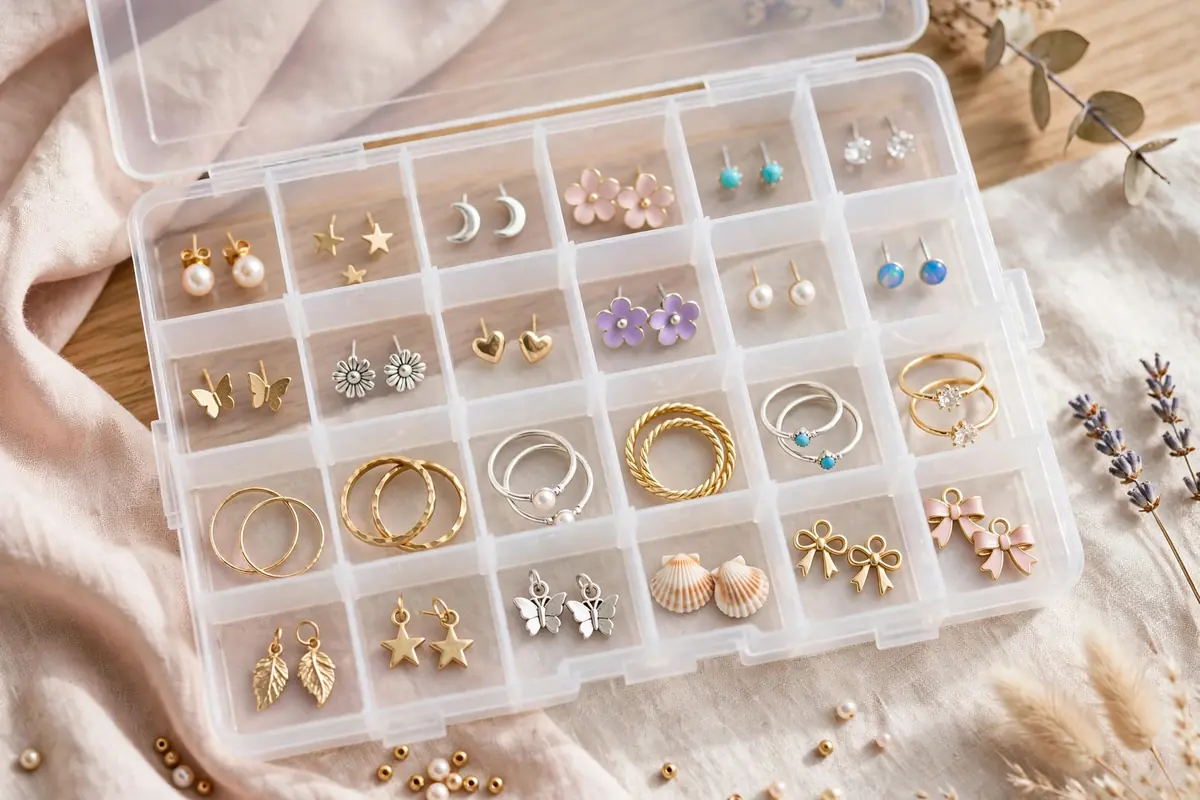
Finish with the tiny stuff that vanishes everywhere else: egg cartons, pill organizers, and bead boxes give every stud pair, pendant charm, earring back, and spare clasp its own labeled cell. It is not glamorous and it is unbeatable for the smallest pieces — the things you actually lose. Use one organizer as the “singles box” for orphaned earrings; check it before buying replacements, because the missing partner is in there more often than anyone admits. These organizers also travel brilliantly in a handbag for mid-day jewelry changes.
Keeping It Tangle-Free for Good
Storage only works if returning a piece takes seconds, so place your system where you actually undress and dress — a brilliant organizer in the wrong room loses to a hook by the mirror. Then hold the one rule: every piece, its own space. Do a five-minute reset monthly (rehang, re-sort, untwist the one chain that migrated), polish what the reset reveals, and your collection will stay the way these ideas left it: separated, visible, and ready to wear — no knots, no scratches, no missing partners.